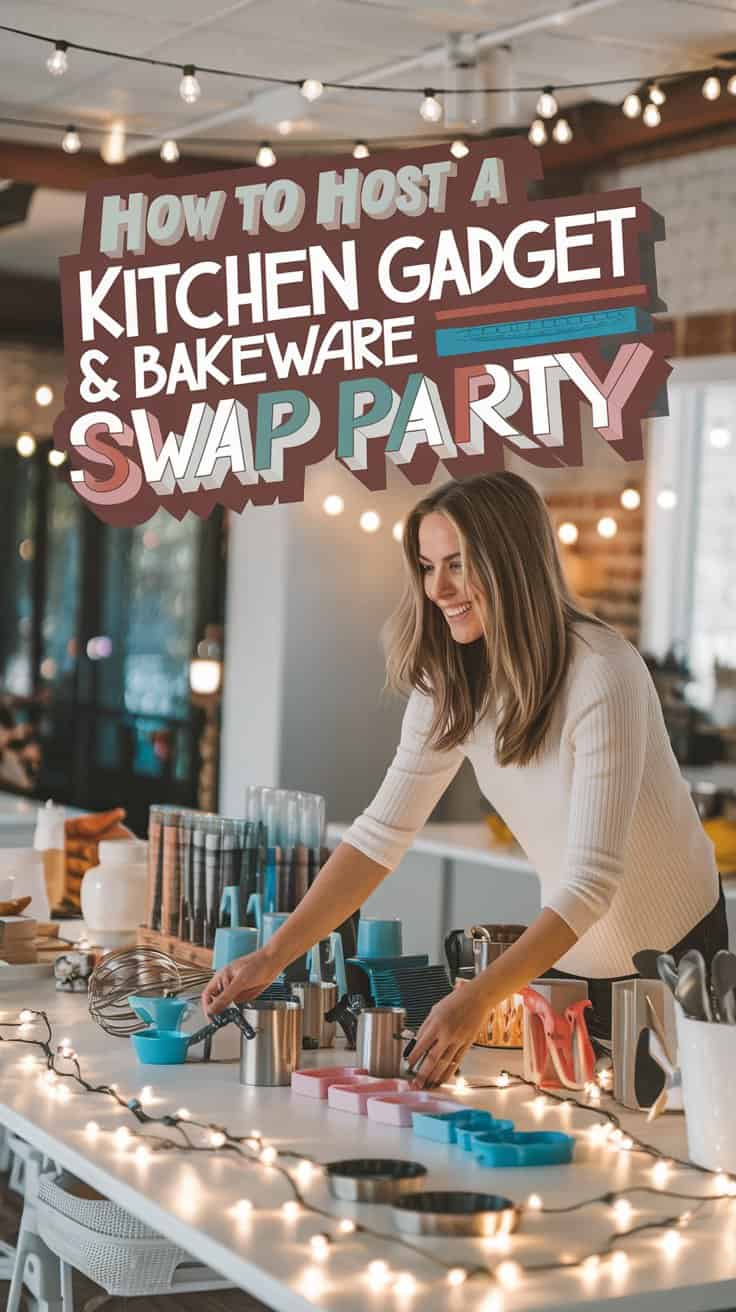
Tired of kitchen clutter but still want new cooking tools? A kitchen gadget and bakeware swap party might be your perfect solution!
You can refresh your kitchen collection while connecting with friends and reducing waste.
Hosting a swap party lets you declutter your kitchen, discover new cooking tools, and enjoy quality time with friends—all without spending money on new items. It’s a win-win for everyone involved, combining the joy of “shopping” with the warmth of social gathering.
You don’t need much to get started—just friends with kitchen items they’re willing to trade and a bit of planning.
The laughter and stories shared about beloved cooking tools can make this event more meaningful than a regular shopping trip. Plus, those gadgets collecting dust in your drawers could become someone else’s new favorite kitchen helper.
Planning Your Kitchen Gadget & Bakeware Swap Party
A successful swap party requires thoughtful planning. Taking time to set things up will ensure everyone has fun and finds treasures to take home.
Choosing a Date and Venue
Pick a date at least three weeks in advance. Weekend afternoons work best for most people. You might consider timing your event during spring cleaning season when everyone is decluttering.
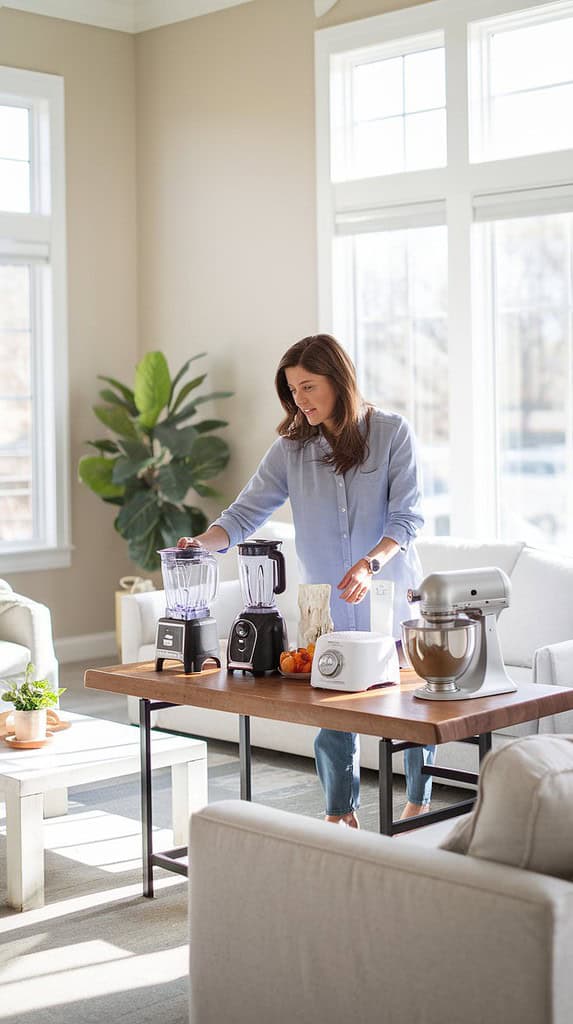
Your home is an ideal venue if you have enough space. Focus on areas with plenty of flat surfaces for displaying items. Your dining room or living room could work perfectly.
If your place is too small, consider these alternatives:
- Community center
- Local church hall
- Apartment complex common room
- A friend’s backyard (weather permitting)
Make sure your venue has:
- Good lighting to examine items
- Tables for displaying gadgets
- Comfortable seating
- Easy access to outlets for testing electrical items
Creating an Inviting Guest List
Aim for 8-15 guests for the perfect swap size. Too few limits variety, while too many becomes chaotic.
Think beyond just close friends. Consider inviting:
- Coworkers who enjoy cooking
- Neighbors you’ve discussed recipes with
- Members of your book club or gym
- Friends of friends who love baking
Send invitations 2-3 weeks before the event. Include clear details about:
- Date, time, and location
- What types of items to bring
- How many items each person should contribute
- Any specific swap rules
Create a group chat or event page where guests can share what they’re bringing. This prevents too many duplicates and builds excitement.
Setting the Rules for Swapping
Clear rules make swapping fair and fun for everyone. Decide on guidelines before the event and share them with your guests.
Item Quality Standards:
- Clean and in working condition
- No broken or heavily damaged items
- Include instruction manuals if available
- Electrical items must function properly
Swap Methods:
- Round-Robin: Everyone picks one item in turns until all items are claimed
- Ticket System: Each item brought = one ticket to claim something else
- Free-For-All: Browse and take what you want (works best with generous groups)
Consider setting price limits like “items valued under $30” to keep things equal. You might also want to create categories based on item types or values.
Have a plan for leftover items. You could donate them to a local shelter or thrift store.

Setting the Scene for Comfort and Fun
Creating the right atmosphere for your kitchen gadget swap party helps guests feel welcome and encourages sharing and conversation. The right setup can make all the difference without breaking the bank.
Decorating on a Budget
Transform your space with simple, affordable touches that create a warm kitchen-themed atmosphere. Hang kitchen utensils from twine across walls or doorways for playful, functional decor. Mason jars filled with wooden spoons, whisks, and spatulas make charming centerpieces on tables.
Use what you already have! Colorful dish towels can become table runners, and mismatched teacups work perfectly as holders for name cards or small snacks.
String lights add a cozy glow without spending much. Arrange cutting boards of different shapes and sizes on walls as temporary decor.
Creating an Interactive Space
Arrange tables in a U-shape or circle to encourage movement and conversation. This setup lets guests browse items easily while chatting with others. Label different zones clearly with signs for “Baking,” “Gadgets,” and “Small Appliances.”
Create a testing station where people can try gadgets before swapping. Set up a small table with an outlet for electric items and basic ingredients.
Add a “Gadget Story” wall where guests can post notes about why they love certain kitchen tools. This sparks conversations and helps others learn about unfamiliar items.
Include comfortable seating areas away from the swap tables where people can rest and chat. Small food and drink stations throughout keep the energy up!

Executing a Successful Swap Event
The day of your kitchen gadget swap has arrived! Now it’s time to ensure everything runs smoothly so all participants have a great experience and find treasures to take home.
Check-In and Item Display
Set up a welcoming check-in table where guests can register and receive any materials like name tags or swap tickets. Have a clipboard ready with a sign-in sheet to track who brought what items.
Create clearly marked zones for different types of kitchen items. For example:
- Baking Section: Cake pans, cookie sheets, muffin tins
- Gadget Corner: Blenders, food processors, specialty tools
- Utensil Area: Spatulas, whisks, serving pieces
Ask guests to place their items in the appropriate areas. Provide small index cards so they can write a brief description or history of each item.
Give everyone time to browse before the actual swap begins. This lets participants see what’s available and mentally note their favorites.
Facilitating the Swap
Establish clear swap rules and explain them to everyone. You might use a ticket system based on how many items each person brought, or set time limits for selecting items.
Consider these swap formats:
- Round-robin: Each person selects one item in turn
- Free-for-all: Everyone shops simultaneously after a countdown
- Silent auction: Write bids on papers next to coveted items
Keep things moving with gentle time reminders. Have a small bell or timer to signal when it’s time to move to the next round or selection.
Walk around and help break any “ties” when two people want the same item. Encourage friendly sharing of item history or usage tips between participants.

Wrapping Up the Party
Once the swap is complete, provide bags or newspaper for wrapping fragile items.
Set up a packing station with scissors, tape, and markers so guests can safely transport their new treasures.
Take a few minutes to gather everyone for a show-and-tell.
Invite participants to share what they acquired and why they’re excited about it. This builds community and helps people learn about unfamiliar items.
Document the success with a group photo of everyone with their new kitchen finds.
Share this on social media with a fun hashtag like #KitchenSwapSuccess.
For any unclaimed items, have a donation plan ready.
Contact local shelters, community centers, or college student groups who might appreciate kitchen supplies.