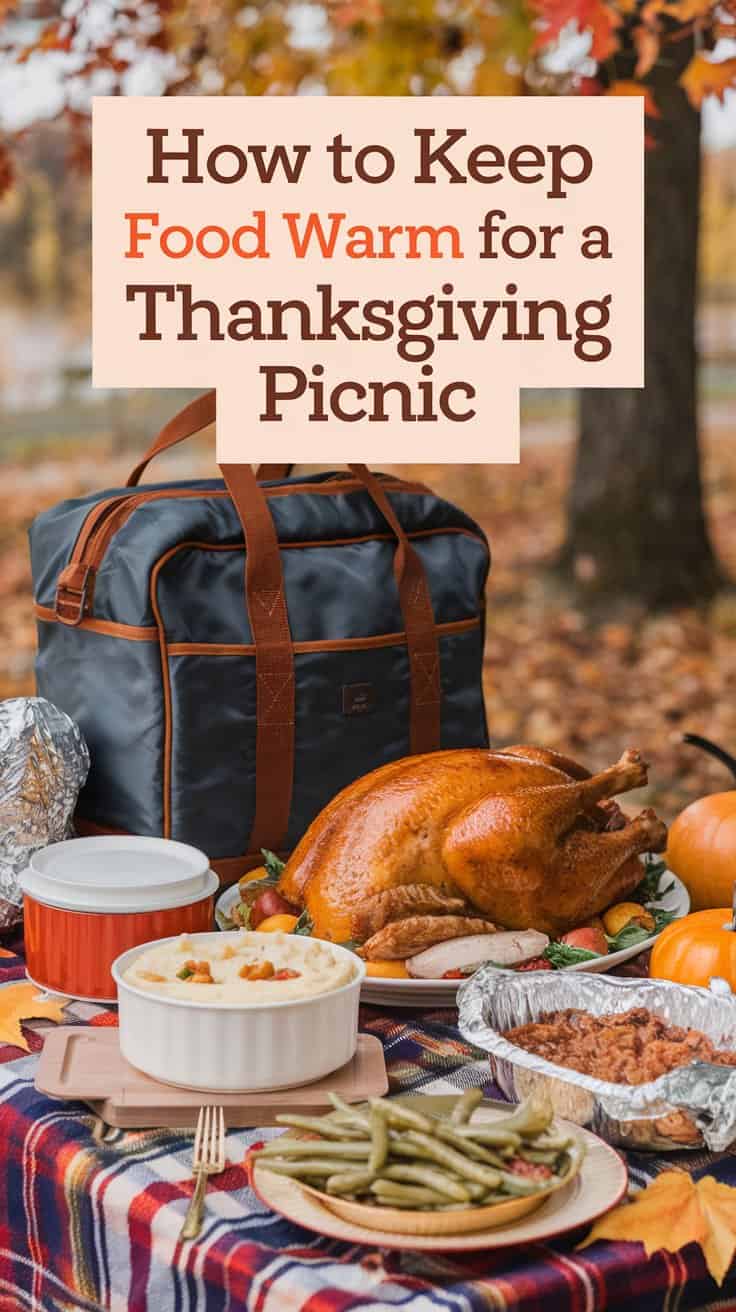
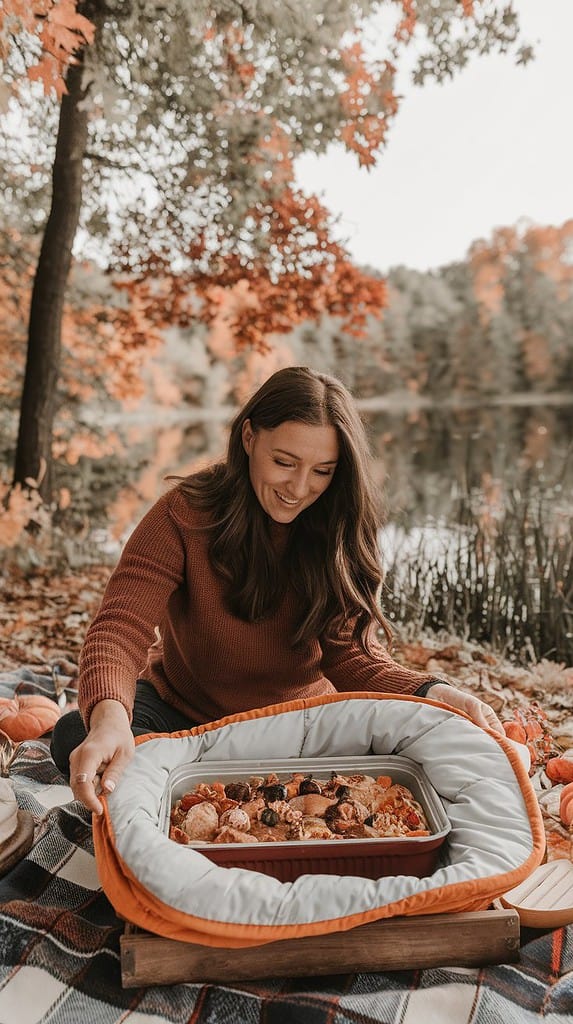
Thanksgiving picnics can be a wonderful way to celebrate the holiday outdoors while enjoying traditional foods with loved ones.
Keeping your delicious dishes warm can be tricky when you’re away from your kitchen, but it doesn’t have to be stressful.
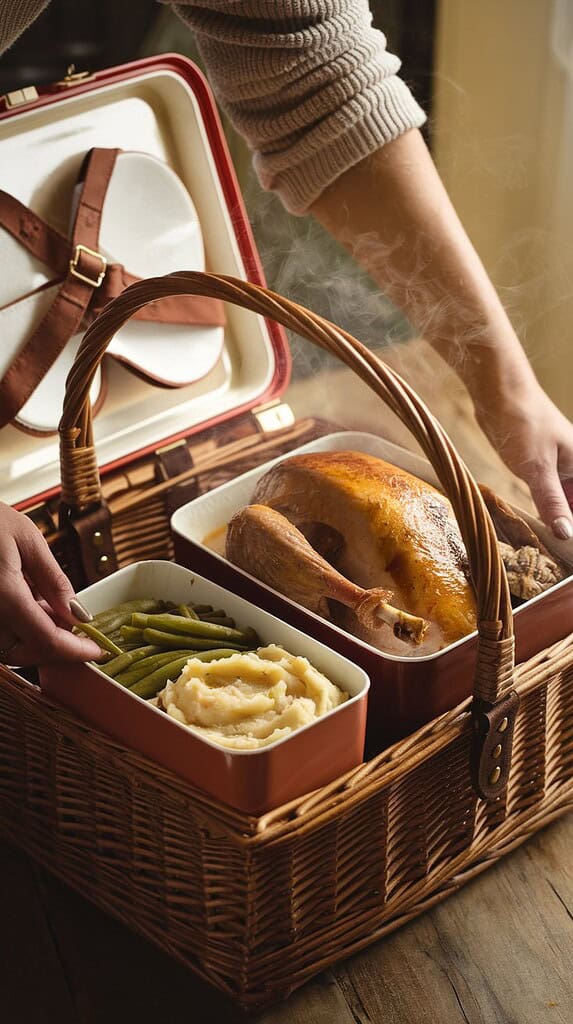
Using insulated food containers, thermal bags, and hot bricks wrapped in foil can keep your Thanksgiving favorites at the perfect serving temperature for hours.
With a little planning, you can enjoy turkey, stuffing, and all your favorite sides in the crisp autumn air.
Pack foods like mashed potatoes in layers with aluminum foil between them to trap heat. You can also pre-heat your serving containers with hot water before filling them with food.
Remember that timing matters when packing your picnic basket.
Wrap everything up just before leaving, and keep the containers closed until you’re ready to eat. This way, you’ll create lasting memories of a warm, delicious Thanksgiving meal enjoyed under the open sky.
Planning Your Thanksgiving Picnic Menu
Creating a menu for your outdoor Thanksgiving feast requires thoughtful selection of dishes that will stay warm and travel well, while offering a balanced variety of options in appropriate portions.
Choosing Warm Dishes That Travel Well
Traditional Thanksgiving foods can work beautifully for your picnic with some smart choices. Focus on hearty options that retain heat well:
- Thick soups and stews like butternut squash soup or turkey chili
- Casseroles such as sweet potato casserole or green bean casserole
- Mashed potatoes in insulated containers
- Stuffing that holds moisture well
Pre-cook your turkey and slice it before packing. This helps it retain moisture and makes serving easier. Gravies and sauces should be stored separately in thermoses or insulated containers.
Remember to test your containers beforehand to ensure they truly keep food warm for the duration you need.
Portion Control for Individual Servings
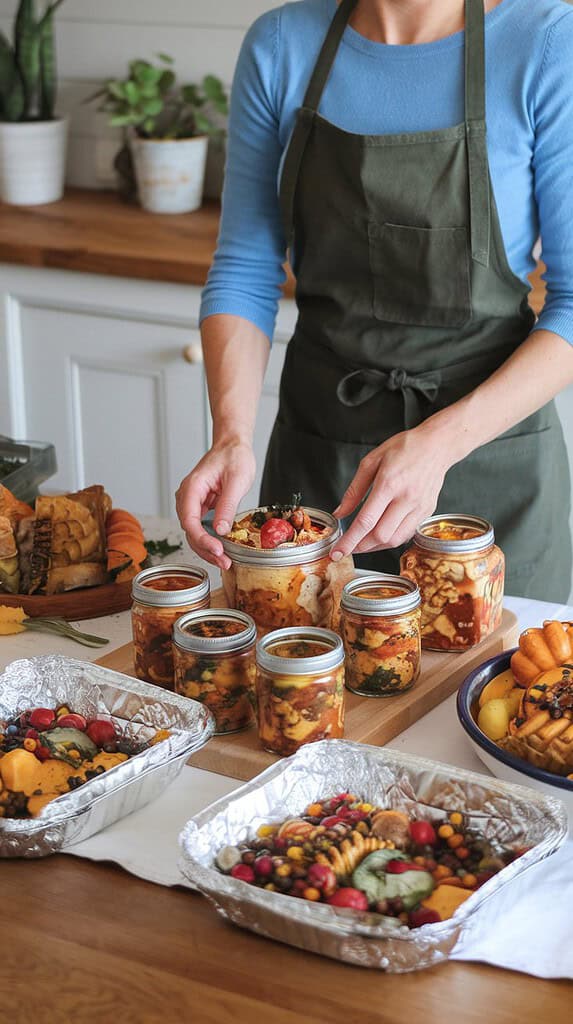
Individual servings make your Thanksgiving picnic more manageable and enjoyable. Consider these approaches:
- Use mason jars for layered dishes like mashed potatoes topped with gravy
- Pack muffin-tin stuffing portions that are easy to grab
- Prepare small foil packets of vegetables that can be reheated on a portable grill
- Create mini pies instead of full-sized desserts
Pre-portioning helps maintain temperature and reduces the need for serving utensils and plates.
Wrap individual portions in foil, then tea towels for extra insulation.
You’ll appreciate the simplicity when you’re ready to eat, and there’s less chance of food getting cold while serving.
Balancing the Feast with Warm and Cold Options
A successful Thanksgiving picnic combines hot dishes with room-temperature or cold options for a stress-free meal:
Warm centerpieces:
- Turkey (pre-sliced)
- Hot sides in thermal containers
Room-temperature sides:
- Cranberry relish
- Dinner rolls with herb butter
- Roasted vegetables with balsamic glaze
Cold options:
- Autumn salad with apples and pecans
- Pumpkin hummus with crudités
This balanced approach means you won’t worry about keeping everything piping hot.
Cold dishes can shine with seasonal ingredients like dried cranberries, roasted pumpkin seeds, or maple vinaigrette.
Your guests will appreciate the variety, and you’ll have more time to enjoy their company rather than stressing about food temperatures.
Packing Essentials for Food Insulation
Keeping your Thanksgiving dishes warm during a picnic requires the right insulation tools and techniques. Proper containers and materials will maintain those delicious temperatures from home to your outdoor celebration.
Selecting the Right Containers
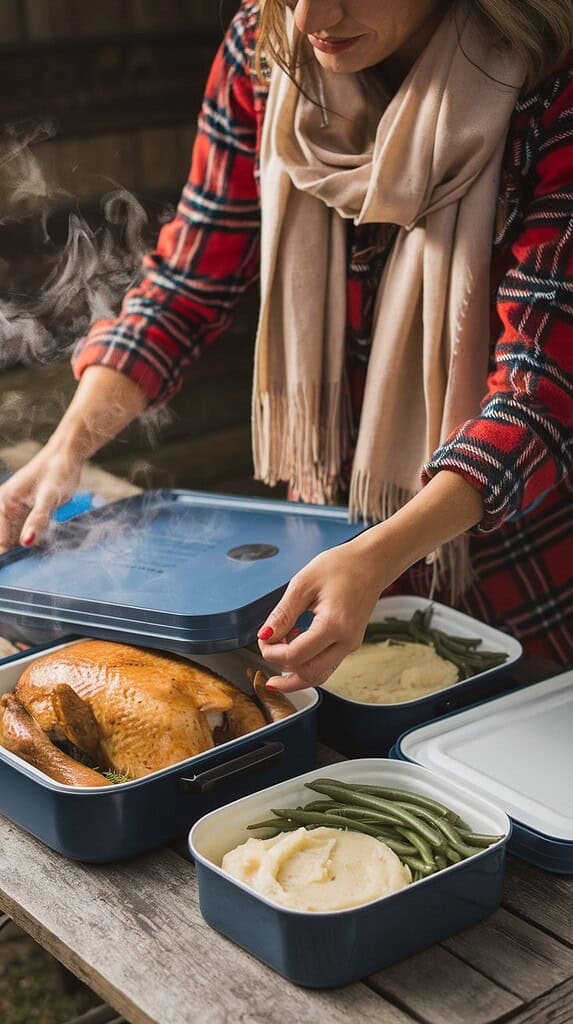
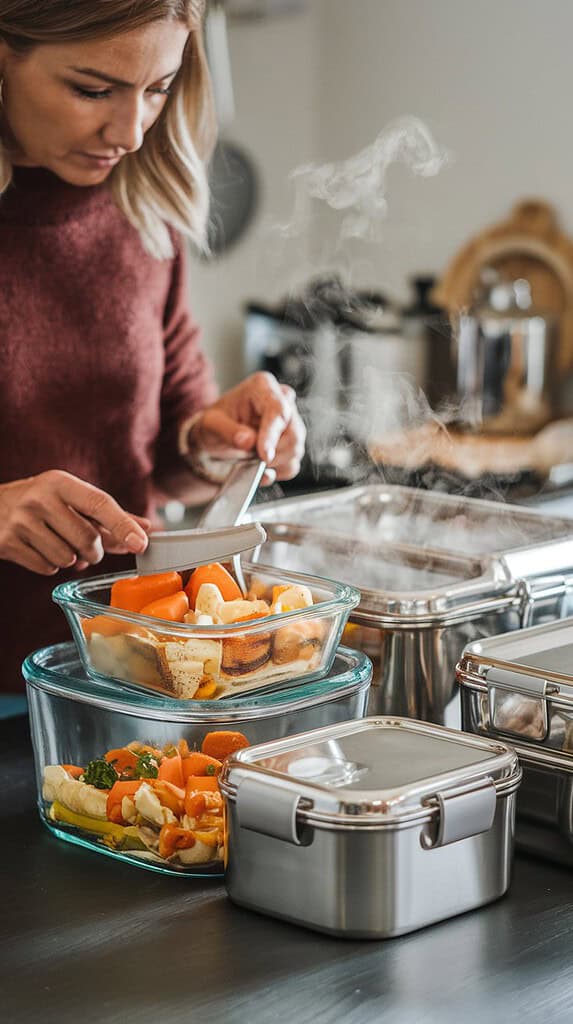
When choosing containers for your warm Thanksgiving dishes, opt for thick-walled options that retain heat well.
Glass containers with tight-fitting lids work wonderfully for casseroles and side dishes.
Stainless steel containers are another excellent choice, as they maintain temperature longer than plastic alternatives. Look for double-walled varieties for extra insulation power.
Consider nesting smaller containers inside larger ones with towels in between for added warmth retention. This creates a mini insulation system for your most temperature-sensitive foods.
Pro tip: Test your containers beforehand with hot water to see how well they maintain heat over time.
Using Wraps and Insulated Bags
Aluminum foil is your best friend for food insulation! Wrap hot dishes in multiple layers, starting with plastic wrap and then foil to trap steam and heat effectively.
Invest in quality insulated bags or coolers specifically designed for hot foods. These thermal carriers use special materials that reflect heat back toward your food rather than letting it escape.
Consider using heat packs designed for food transport. These reusable warming elements can be tucked alongside containers to maintain temperature for hours.
Insulation layers to consider:
- Inner layer: Plastic wrap (traps moisture)
- Middle layer: Aluminum foil (reflects heat)
- Outer layer: Towel or blanket (provides additional insulation)
Preheating Containers for Maximum Warmth Retention
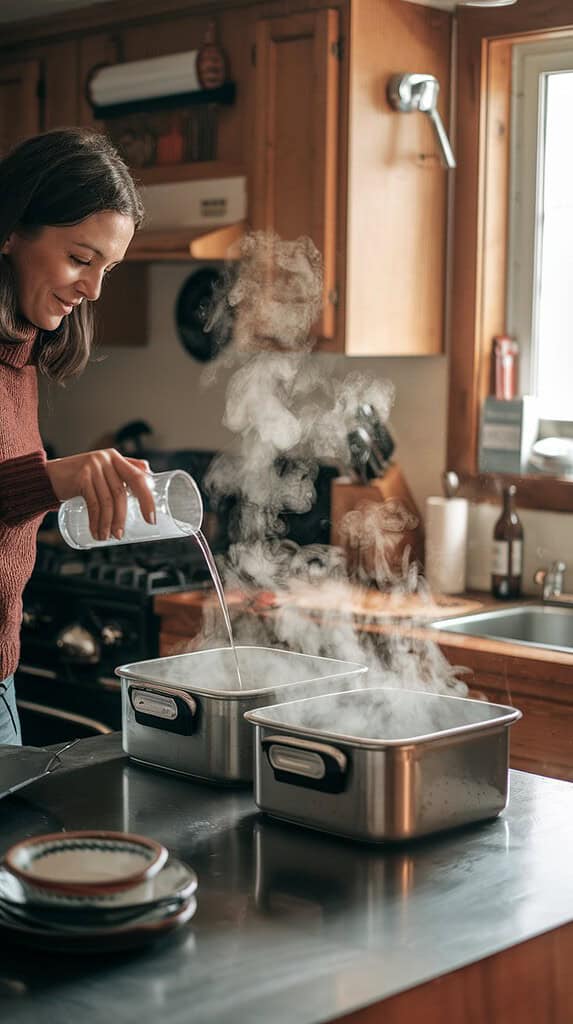
Before filling your containers, preheat them with hot water or in the oven on low heat. Warm containers prevent your food from losing heat on contact with cold surfaces.
For casserole dishes, warm them in the oven at 200°F for about 10 minutes before filling. This simple step can significantly extend the time your food stays warm.
You can also use hot water to warm up insulated bags before packing. Simply fill a watertight container with hot water, place it in your bag for 5-10 minutes, then empty and dry before packing food.
Remember that preheating works best when you transfer food directly from cooking to warmed containers with minimal air exposure. Every time you open a container, precious heat escapes!
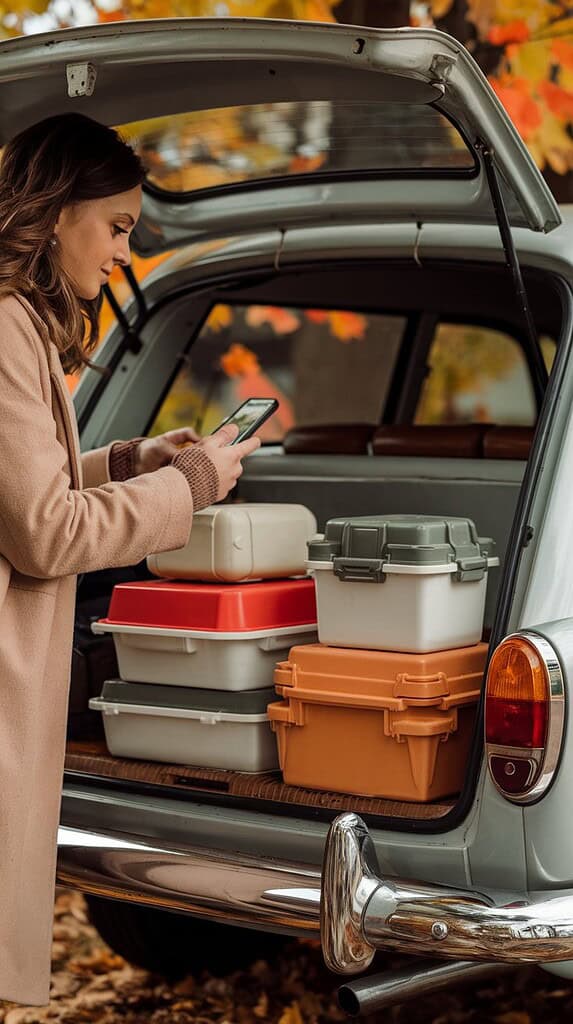
Transporting Food with Care
Getting your delicious Thanksgiving dishes to the picnic spot requires careful planning. Good containers and smart timing can make all the difference.
Securing Containers in Transit
Your food deserves a safe journey! Use containers with tight-fitting lids to prevent spills. Double-seal items with plastic wrap before putting the lid on for extra protection.
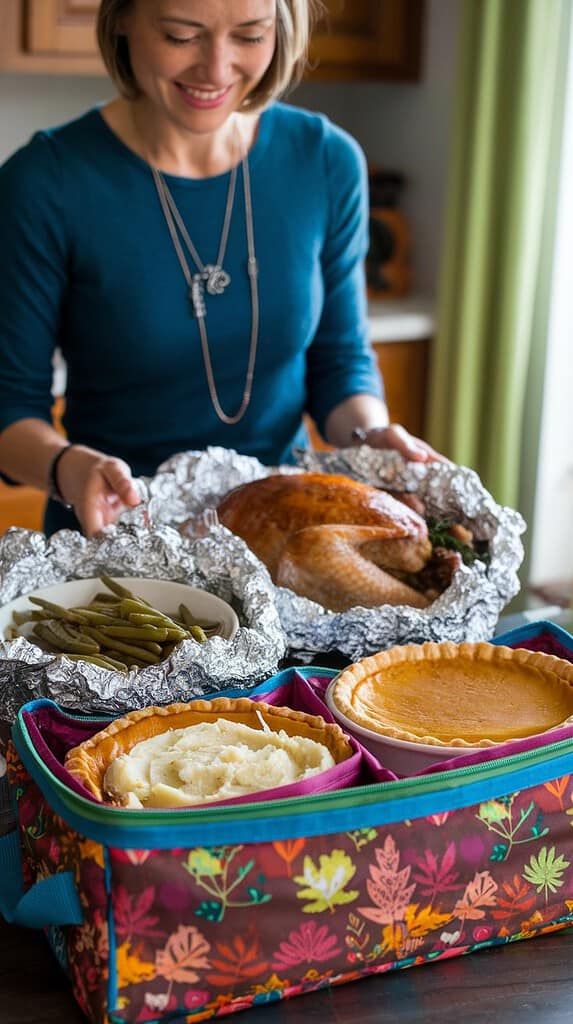
Consider using a dedicated carrier for transporting hot foods. Casserole carriers with insulation work wonders for keeping dishes like sweet potato casserole warm. You can find these at most home goods stores.
Stack containers strategically in your vehicle. Place heavier items at the bottom and use towels or blankets between layers to prevent shifting during the drive.
Pro tip: Keep a few clean dish towels handy to quickly clean up any minor spills before they become major messes!
Minimizing Travel Time
The shorter your travel time, the warmer your food will stay! Plan your route in advance and check for traffic updates before heading out.
Have your picnic location picked out ahead of time. If possible, scout it earlier in the week so you know exactly where you’re going on Thanksgiving day.
Pack your car efficiently with food items last, so they’re the first things you can unload. Organize your trunk or backseat before you start loading food containers.
Time-saving checklist:
- Prepare a staging area near your door
- Load non-food items first
- Have your picnic spot’s address ready in your GPS
- Tell everyone in your group when to arrive
On-Site Warming Strategies
Keeping your Thanksgiving feast warm once you’ve arrived at your picnic spot requires some planning and creativity. These methods will help you maintain those delicious temperatures without electricity.
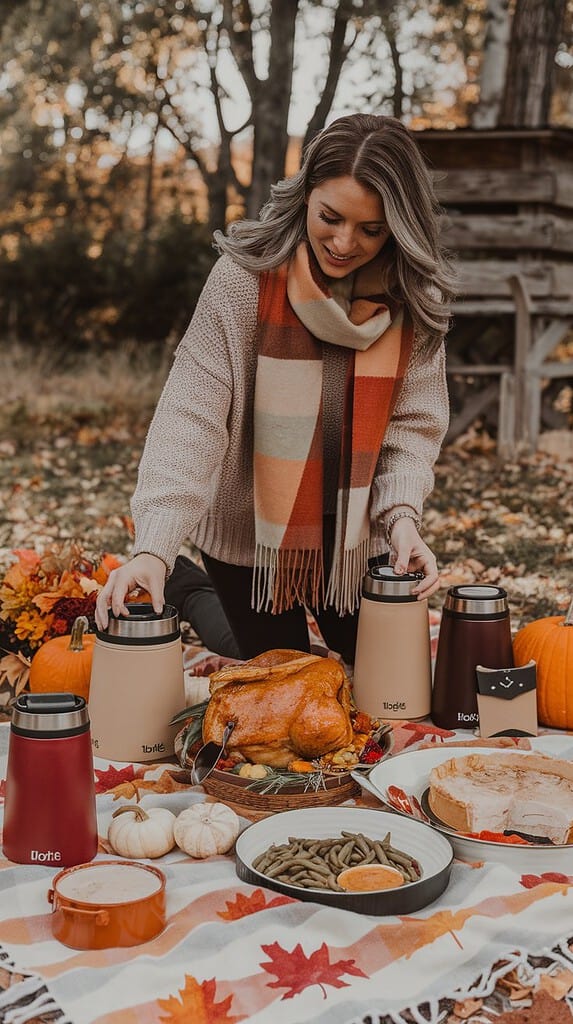
Utilizing Portable Warming Devices
Portable warming options make outdoor dining much easier for your Thanksgiving picnic. Insulated food carriers are your best friends – they can keep casseroles and side dishes warm for 2-3 hours. Look for ones with tight-fitting lids for maximum heat retention.
Consider investing in chafing dishes with Sterno fuel cans. These flameless heating sources burn for hours and keep food at the perfect serving temperature. They’re perfect for mashed potatoes and gravy!
Battery-operated food warmers are another excellent option. Many are compact enough to fit in your picnic basket but powerful enough to maintain safe food temperatures.

DIY Methods to Keep Food Warm Outdoors
You don’t need fancy equipment to keep your Thanksgiving dishes warm. Thermal wrapping works wonders – wrap dishes in aluminum foil, then wrap again with thick towels or blankets to trap heat.
Try the hot brick method: Wrap clean bricks in aluminum foil, heat them in your oven before leaving, and place them underneath your serving dishes at the picnic. They’ll radiate heat for over an hour!
Hot water bottles work surprisingly well too. Fill them before leaving home and tuck them around your food containers in a cooler.
Pre-heating your serving dishes before adding food helps maintain temperature longer. Simply rinse them with hot water right before serving.
Enjoying Your Thanksgiving Picnic Safely
Food safety is just as important outdoors as it is at your dining table. Taking proper precautions ensures your picnic remains a happy memory rather than a health concern.
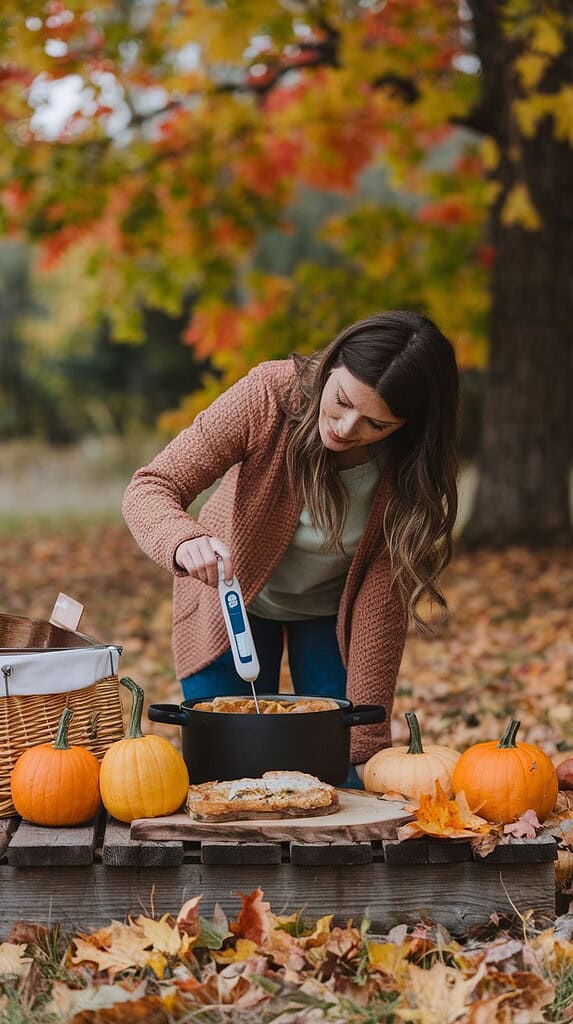
Monitoring Food Temperature
Keep a food thermometer in your picnic basket. Hot foods should stay above 140°F and cold foods below 40°F to prevent bacteria growth. This “temperature danger zone” is where foodborne illness can develop.
Use insulated containers properly by pre-warming them with hot water before adding hot foods. This helps maintain temperature longer.
Don’t let foods sit out for more than 2 hours (or 1 hour if it’s over 90°F outside).
Set a timer on your phone to remind you when foods need to be returned to thermal containers. For turkey and other meats, check that they maintain at least 140°F.
When in doubt about a food’s temperature, it’s better to discard it than risk getting sick.
Practicing Safe Food Handling
Pack hand sanitizer or wet wipes for cleaning hands before and after handling food. This simple step prevents cross-contamination and keeps germs away from your meal.
Use separate utensils for serving different dishes, especially when handling raw and cooked foods. Bring extra serving spoons so you won’t accidentally mix them.
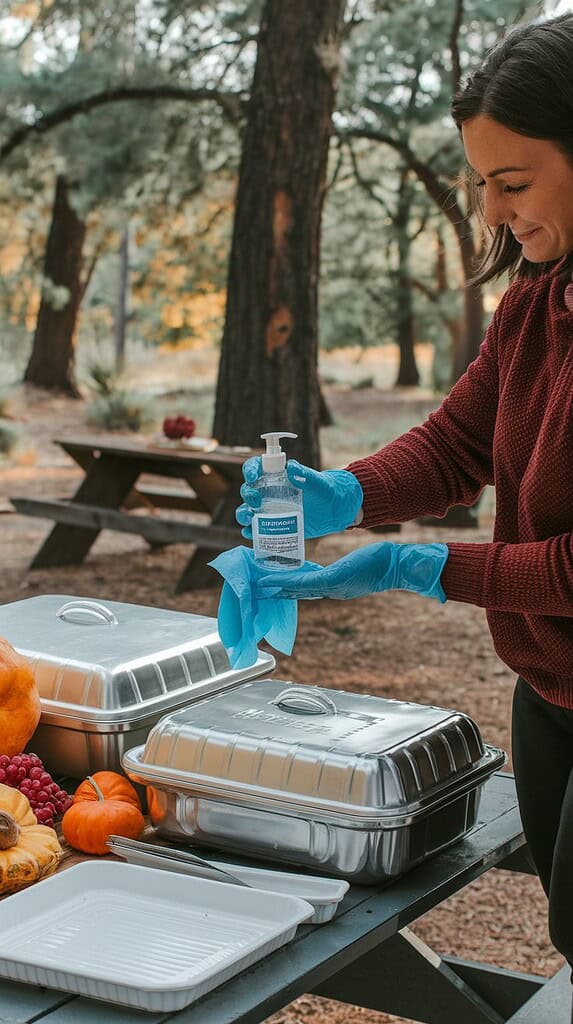
Store raw foods away from ready-to-eat items in your cooler. Use sealed containers to prevent juices from contaminating other foods.
Consider these practical tips:
- Pack foods in reverse order of use (first items needed on top)
- Bring garbage bags for proper waste disposal
- Use paper towels instead of cloth for cleaning surfaces
- Keep insects away with proper food covers